The Servicedesk module in More Service provides full support for handling «Incident», «Service», «Access», and Service level agreements according to ITIL.
Each agent can customize his own first page according to what role or interest one has to see the different types of cases. You can group requests, Incident, services, accesses, Service, Access by dragging the "Type" column into the grouping field.
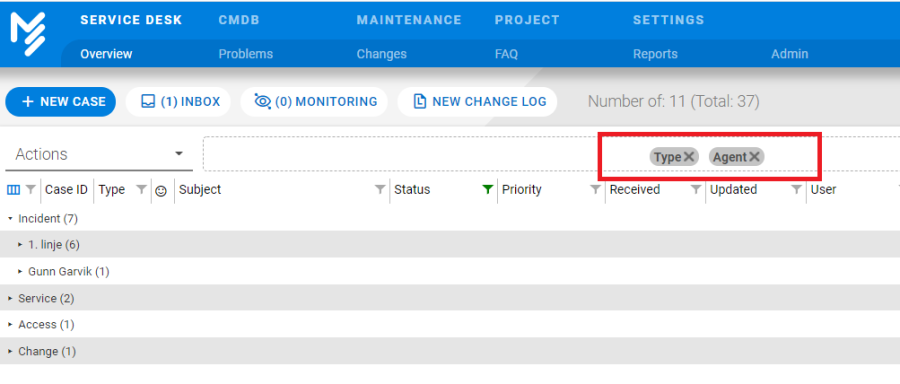
(The example shows all requests, Service, Access and Change.)
For the different ITIL types, it is possible to sort and search for information in the same way as the rest of the overview tab.
Problems (ITILs Problem Management)
More Service Servicedesk supports the ITIL procedures for problem solving.
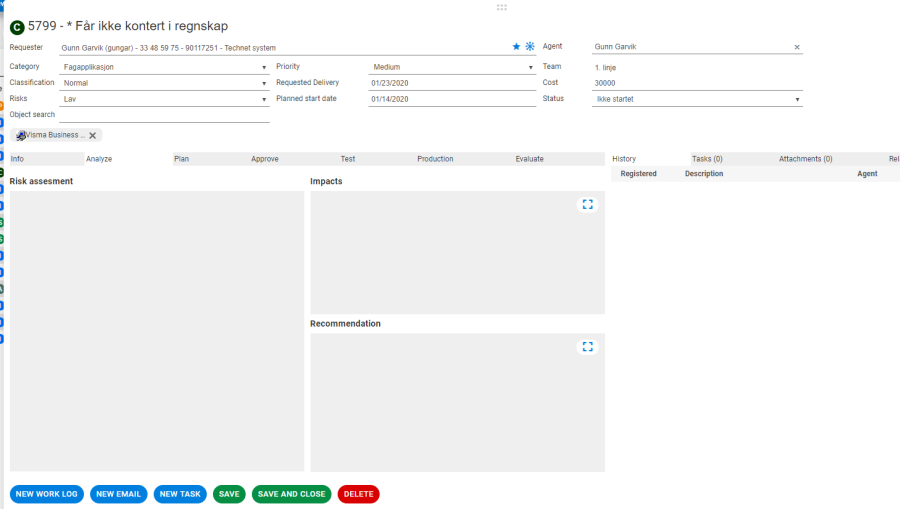
The case for a problem is divided into:
Register, Analysis, Tasks, Solution, Evaluation, and Related cases.
![]()
.
You can navigate between the different processes by selecting the tabs, or by using the navigation buttons at the bottom right of the page. ![]()
Register
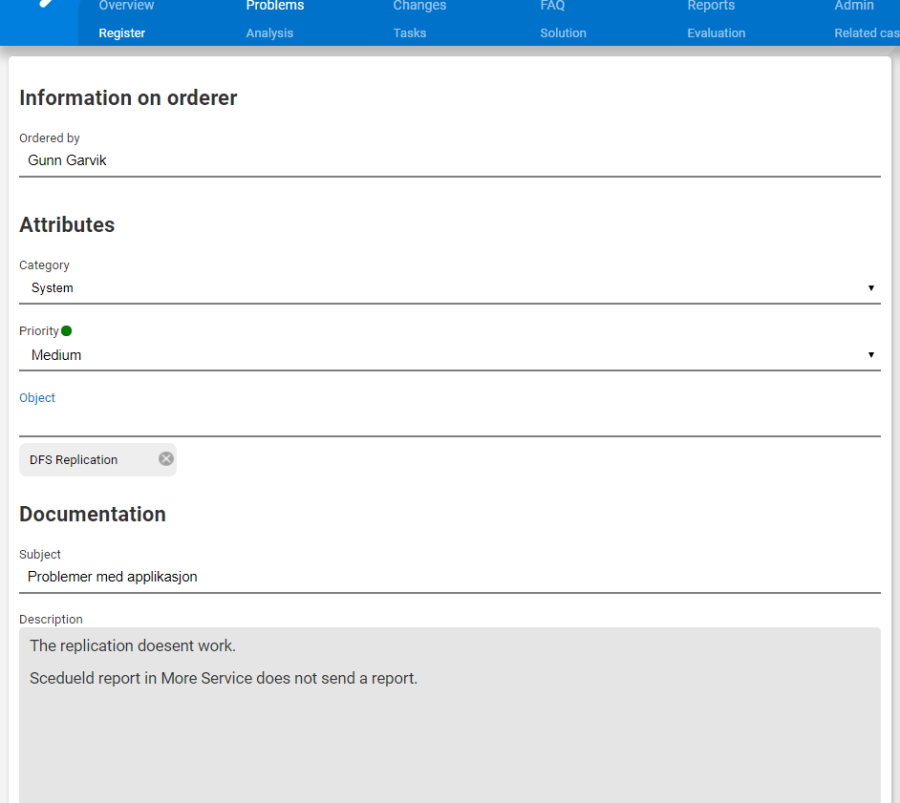
Ordered by:
Information about which agent / user who has registered the case.
Category:
In «Admin» tab we can define our own categories with solution suggestions that will be available in this drop-down menu. Category can also be linked to department. If this is done, the automatically selected category will be set on all items for this department. If we do not have a defined default category for a department, this can be manually set up as follows: Click the drop down menu and select the appropriate category. If category is not relevant to their business, this feature may be disabled so this field will be removed from the registration form.
Impact:
The point of this choice is to be able to distinguish who / what matters impact. Two Service can be high priority, but one matter that affects the entire business should be addressed before a matter that affects only a user. The attributes you can select are: «User», «Department», and «Business».
Priority:
Priority can be connected to department in «Admin» tab. If so, the automatically selected priority will be set on all cases for this department. If we do not have a default priority for the department, this can be set manually in the following way: Click on the drop down menu and choose priority high, low medium etc.
Case with a deleted priority will show priority in red and deny update until priority has been changed to registered priority.
Object:
This feature has a direct link to the CMDB module. Here, the active items and item types for the selected department will be available options.
System is selected as follows:
Click on the drop-down menu and choose, for example the related system of the case, then select which object the case applies to. Max 6 objects can be entered.
Subject (Required field!):
Subject is the name of the case that will be visible in the case list view.
Description (Required field!):
Fill out the description field with information relevant to the case, such as the user being logged on terminal server X , but the program Z is not working.

Status:
Default statuses in More Service are: Not Started, Started, Fixed, Waiting, Remaining Unresolved. In «Admin tab» you can manage change and create new statuses.
Agent:
Agent is automatically set to the person who is logged in. If another agent is responsible for the matter, click on the drop down menu and choose another agent.
Time consumption:
Register the time you have spent solving the matter. If you want to see how much time is spent on the case, hold the mouse over ![]() . If you want to change the time registered on the matter, press
. If you want to change the time registered on the matter, press ![]() .
.
Attachments:
If there is a screen shot of the error message or other documents that you wish to attach to the case, this may be added as a picture in the text box.
Attachments can be added by doing the following. Click «Browse» to find the attachment, and then press «Add».
Analysis
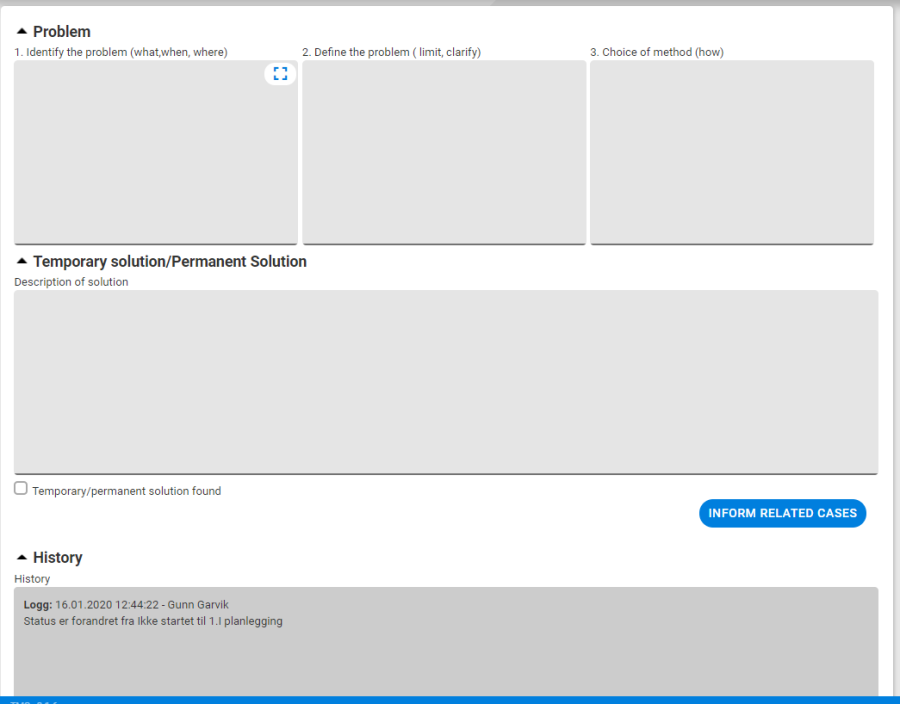

In this part of the problem process, the problem must be analyzed.
- Identify the problem (what, when, where)
- Define the problem (limit, clarify)
- Method (how) and root cause
Description of temporary solution: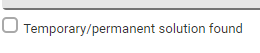
In this section you enter a temporary solution. By checking for temporary solution found and then clicking on informed Incident, the solution is sent to the history log of associated Incident. Servicedesk manager will also receive an email where the temporary solution is described.
The Incident associated with the problem have been updated in the log. Info with email icon and date is shown in the Servicedesk view.
Assignments

The next step in the process is to perform the tasks that the analysis phase has generated. In this view you can easily find out what to do, who will do it etc. We also see a status of all the tasks assigned to the different agents. Upon completion of the assignment, the agent assigned to the task receives an email with a link to the task. Once all these tasks are resolved, we are ready for the next step in the process.
Solution
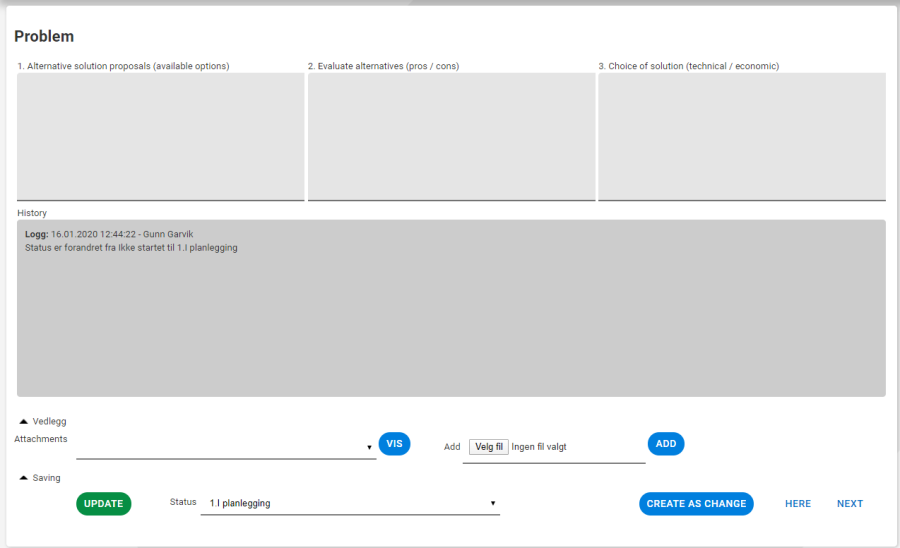
In this part of the problem process we look at:
- Alternative solution suggestions (which possibilities exist).
- Evaluation of the options (advantages / disadvantages)
- Choice of solution (technical and economic)
History log appears in all tabs.
You can directly from this view make a change, as a result of the chosen solution.
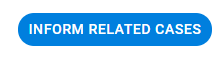
The system will then include all the information from the problem in the change process. The processes will also be automatically linked and this can be seen under the tab «Related cases».
Evaluation
Under the "Evaluation" tab, you are supposed to make an evaluation of the process. You typically write a short summary, as well as any things to keep in mind in future problems or aspects you can learn from.
Under «Result» there is a drop down menu where you can set the status of the evaluation.
«Successful», «Successful with complications», «Unwanted result».
This will affect KPI reports that are run during the week and / or month.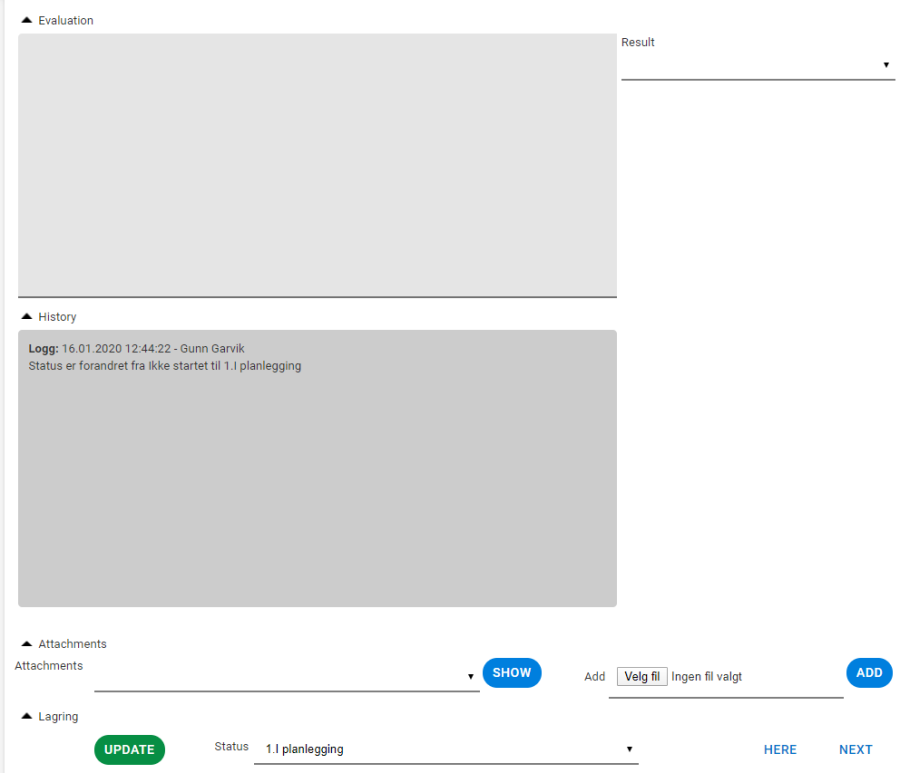
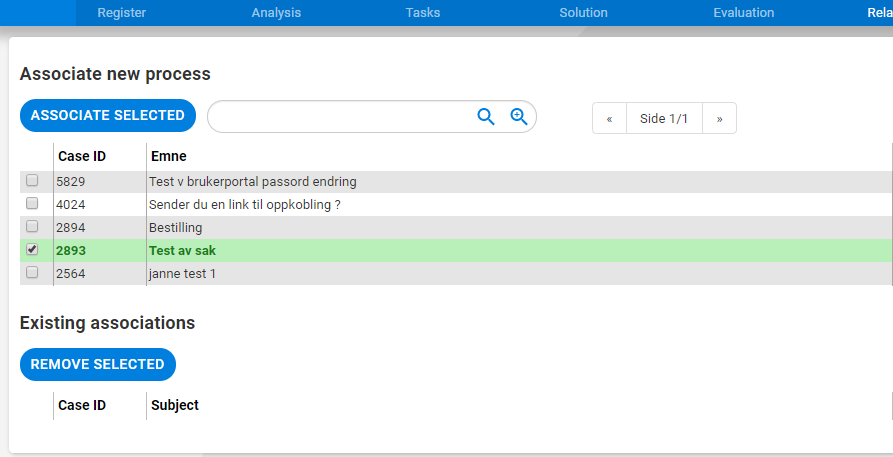
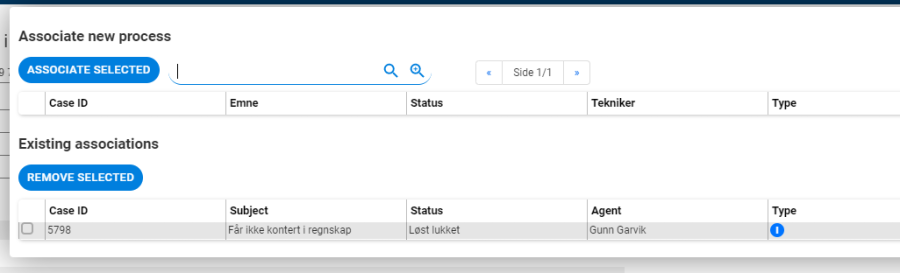
Related Cases
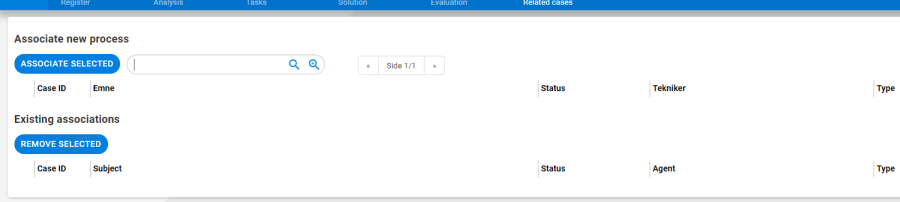
Under the tab "Related cases» the agent can easily see which service have caused the problem and what access the problem has resulted in. You also have the opportunity to associate other services / problems / access requests to the case. This is by searching in all incidents registered in the Servicedesk.
Check for «Service» you want to associate with the problem and choose "Associate selected"
Change (ITILs Change Management)

More Service supports the ITIL process for change.
The process for change is divided into:
Info, Analyze, Plan, Approve, Test, Production, Evaluate, History, Tasks, Attachments, Related Service. It is also possible to add Change Advisory Board (CAB)..
More Service remembers how far in the process you have come in each change case.
The sub processes that have been completed will be cropped off with a green check mark in the system and automatically take you to the next step in the process.
You can navigate between the different processes by selecting the tabs, or by using the navigation buttons at the bottom right of the page.
Register
The registration view takes you easily and intuitively through the various text boxes and drop-down menus.
If the change is transferred from an Incident or problem, Subject field, description and request will automatically be completed based on the information contained in the fields before.
Requester:
Information about date of registration, which agent has registered the change, customer name, user name, phone number and email address.
Category:
In Admin tab we can define our own categories of suggested solutions that will be available in this drop-down menu. Category can also be linked to a department. If this is done, the automatically selected category will be set on all cases for this department.
Object(CI) Search:
This feature has a direct link to the CMDB module. Here, the active objects and object (CI) types for the selected department will be available options.
System is selected as follows:
Click on " object Search " and select, for example object type in the CMDB star, then select which object the case applies to; "server, system, etc. ". If System is not relevant to their business, this feature can be disabled in Admin tab so this field will be removed from the registration form.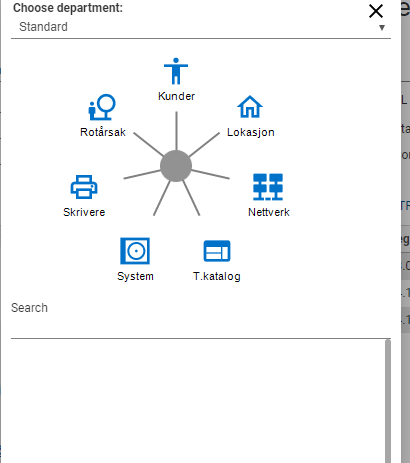
Documentation:
Subject
(Required field)
Subject is the name of the case that will be visible in the case list view.
Description
(Required field)
Fill out the description field with information relevant to the case, such as the user being logged on terminal server X , but the program Z is not working.
In terms of change, it should also describe what needs to be changed.
Consequence of not implementing change
This field specifies the consequences that can occur if you do not make the change.
Desired delivery time from customer:
Here you have access to a calendar and can retrieve date from this. 
Verified by system administrator:
Access in a professional application, which may depend on compatibility with other systems, should be verified and approved by the system administrator.
System Administrator often has useful information that is important to investigate before upgrading.
Work log
This is a work log for agents with the opportunities to send mail to requester or other agents.
Status:
Default statuses in More Service are: Not Started, Started, Resolved, Waiting, Remaining Unresolved. In Admin tab you can manage change module and create new statuses.
Coordinator:
Agent is automatically set to be the person who is logged in. If another agent is responsible for the case, click on the drop down menu and choose another agent.
Time consumption:
Register the time you have spent solving the case. If you want to see how much time spent on the case, hold the mouse over ![]() . If you want to change the time registered on the case, press
. If you want to change the time registered on the case, press ![]() .
.
Attachments:
If there is a screenshot of the error message or other documents that you wish to attach to the case, this can be attached as an attachment. Press Browse to find the attachment and then press Add.
Evaluate
In the first step of the change process, change manager makes a risk assessment and classification of the change. Scope of the change and what consequences the change can have for the entire organization, user group / location or single person.
Based on the outcome of the different risk assessment in the matrix and classification, the number of members of the Change Advisory Board (CAB) in the next tab Approve will vary.
High risk classification
If high risk for the whole organization, Technet recommends that at least 3 people including change management in the Change Advisory Board to assess the change.
Only change process manager can approve, claim a review or reject the change. 
Risk Low Classification
Change manager can approve, review, or reject the change by himself / herself.
In the «Risk Assessment» text box: Risk must be reported:
Consideration is given to the potential impact of the change on the entire organization, department or user if it does not successfully deployed. What other systems may be affected and what consequences this will have. Evaluation of costs if not everything goes as planned is also an important risk assessment. In short, what is the worst thing that can happen.
In the «Recommendation» text box:
Here you can enter the recommended procedure for the change according to previously made Access of the same type.
Approve / Change Advisory Board (CAB)
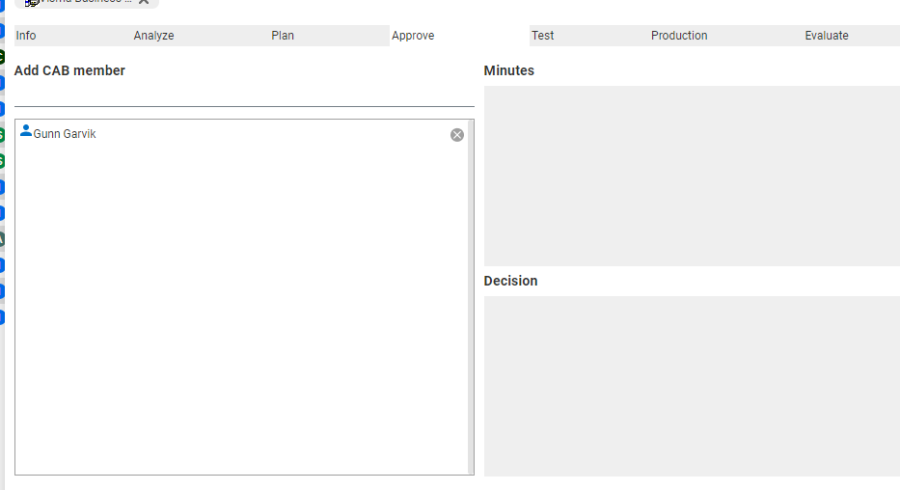
The Change Advisory Board (CAB) will automatically add change manager and coordinator. It is also possible
to enter more agents or other external persons to join. It is possible to send the change case by email to the participants who have been added to CAB.
Insert the date of when the change case should have been processed in CAB, and the date for when the change is planned done.
Here, the change manager shall state if the change is "Approved", shall be "Reviewed" or "Finally rejected". Minutes can be entered in logs and "Decision" field can be substantiated with comments.
Comments and results of decision can be sent to requester by pressing
«Send Decision» 
Testing

Under the Test tab, technical tests are being processed. Comments and expected result of the test are entered in the work log.
Here you can also list the selected people who will perform the user test in a test team.
Under the instruction tab you kan order and tell where the test team can test.
By cliking «send test plan» an email with instructions are sent to the test team.
The tests must be manually sent to the users and the result must be submitted by agents in the test log. Result of user tests are added in history logg under the Test tab and you can manualy write result in text field «Result».
Useful for historical data as experience.
Below this tab you can also add attachments.
Production
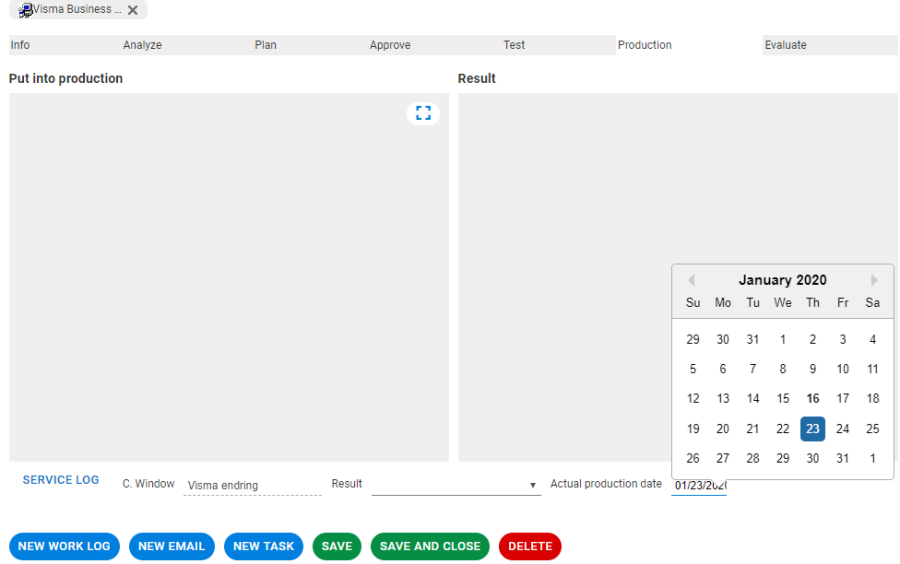
In «Put into production» field, the plan for deployment should be described, and attachments or routines for rollback should be attached/entered. Describe the release plan. You can also attach a separate document describing the release plan.
Change Window - Production Coordinator
To plan the change in a change window, og to the change calendar (Servicedesk -> Access), and drag Access on the left side (Access without window) and drop it in the window you want.
If you want to create a new window, click the ![]() button, and fill in window title and to / from dates.
button, and fill in window title and to / from dates.
Deployment Comments
Fill in experiences that came up during production setting in the «Result» text box. Possible valuable experiences can be described.
For the fixed evaluation options of Result there is a drop down menu.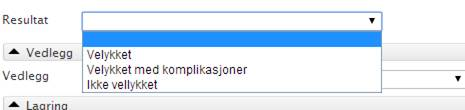
Tasks
The next step in the process is to perform the tasks that the analysis phase has generated. In this view you can easily find out what to do, who will do it etc. We also see the status of all the tasks assigned to the different agents. Once all these tasks are resolved, we are ready for the next step in the process.
Attachments
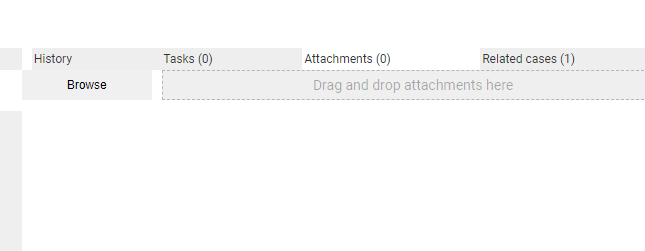
Under the Attachments tab, the system will retrieve all documents that have been affected by the change. In plain text this means that it shows all the documents that are associated with the tasks of the change.
Related Service
Under this tab, the agent can easily see which Incident have caused the problem and what Access the problem has caused. You also have the opportunity to associate other Incident / problems or Access.